
When you load up the latest post on a properly designed WordPress site, you should see a link for the previous post somewhere on the page. It usually appears right after the main content. On older posts, you’ll also find a link pointing to the next post.
These previous/next links are often referred to as the “post pagination”. No to be confused with “posts pagination” which appears on archive pages to links to the previous/next page to show a list of older/newer posts.
In most WordPress themes, the previous link is displayed using the following function:
If you take a look at the previous_post_link() page in the WordPress codex you can see the available parameters. If you use the code example above, the %title placeholder will be replaced with the previous post’s title.
Since we want to add more details to the previous post link, let’s take a look at get_previous_post() instead. That function retrieves all of the details for the previous post which will give us the ability to customize things however we want.
Gathering Previous Post Link Details
Here’s a small function that will load the extra details we’re going to use.
if ( $prev = get_previous_post() ) {
   $prev_title = $prev->post_title;
   $prev_ex_con = ( $prev->post_excerpt ) ? $prev->post_excerpt : strip_shortcodes( $prev->post_content );
   $prev_text = wp_trim_words( apply_filters( 'the_excerpt', $prev_ex_con ), 15 );
   $prev_time_author = sprintf( __( '%s ago - by %s', 'byline' ), human_time_diff( get_the_time( 'U', $prev->ID ), current_time( 'timestamp' ) ), get_the_author( $prev->ID ) )
}
In the above code, we set up a few variables with the previous post’s title, excerpt, time and author. There’s a word limit set for the excerpt using wp_trim_words(). If you want to increase/decrease this value, change 15 to whatever you want.
Adding the HTML
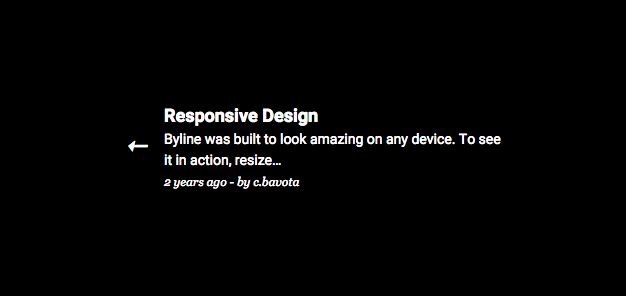
With those variables set, we can now use some HTML to display all the info for our previous post.
Styling It Up
Here are the CSS selectors and some basic CSS:
.previous {
   max-width: 50%;
   width: 100%;
   float: left;
   font-size: 14px;
   padding-left: 40px;
}
.previous .icon {
   -moz-transform: translateY(-50%);
   -ms-transform: translateY(-50%);
   -webkit-transform: translateY(-50%);
   transform: translateY(-50%);
   font-size: 24px;
   position: absolute;
   left: 0;
   top: 50%;
}
.previous strong {
   font-size: 18px;
}
.previous em {
   font-size: 12px;
}
I’ve also added a black background and white text to the example image below to make it stand out form the page.
Even though the example above is for the previous post link, the next post link can be displayed and styled in a similar way using get_next_post().
If you have a suggestion or comment, please use the form below.
Featured image provided by Gratisography.